Jun 15, 2025
Heavy rains and winds always have the possibility of wearing down your roof protection. Leaking roofs are more than just a nuisance; they’re a beacon signaling the urgent need for repairs to protect your home from further damage. At Stonebridge, we understand the urgency of the situation. That’s why we’ve outlined 4 temporary roof leak fixes before repair—quick solutions that can buy you time before professional help arrives. However, remember, these are temporary solutions, and it’s crucial to contact a professional as soon as possible for the necessary repairs.
1. Clearing Gutters and Downspouts
Often, a leaking roof can be the result of clogged gutters and downspouts preventing proper water drainage. Leaves, twigs, and debris can accumulate in your gutters, causing water to back up and potentially enter your home. As a fast DIY fix, ensure your gutters are clean and free of any blockages. Safely use a ladder to reach your gutters and remove debris by hand or with a gutter scoop. Flush the gutters and downspouts with water from a hose if possible to ensure they’re clear and water can flow freely.
2. Tarp Covering
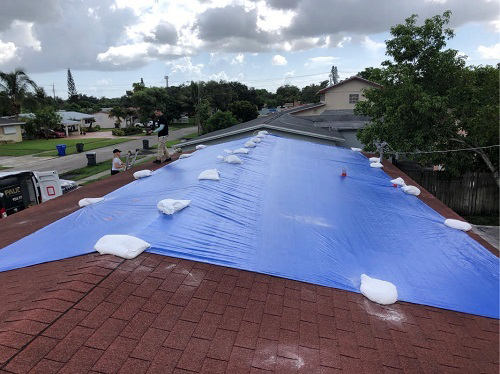
If the leak is extensive and a storms are not over, a tarp covering might be your best bet. Secure a large tarp over the affected area on your roof, ensuring it extends over the ridge and down the other side. Secure the tarp with sandbags or heavy items if possible to not create any more damage with nails or sharp objects. This method provides a temporary barrier against rainwater until repairs can be made.
3. Sealant Spray Solution
For a swift response to a leaking roof that doesn’t involve roofing tar, consider using a sealant spray. These aerosol sealants can be applied directly to the leak area from the inside of your attic. First, identify the leak source by looking for dampness or sunlight breaking through the roof. Clean the area around the leak to ensure it’s free from debris and moisture for optimal adhesion. Then, shake the can well and spray the sealant liberally over the leak, covering it completely. Sealant sprays are excellent for sealing small holes and cracks temporarily and can quickly create a waterproof barrier over the affected area.
This approach is best for minor leaks and should be seen as a temporary fix until professional repairs can be carried out. The ease of application makes it a convenient option for immediate leak mitigation, but it’s essential to schedule a professional inspection and repair to address the underlying issues and prevent future leaks.
4. Applying Rubber Sealants
For leaks around roof fixtures like vents or chimneys, a rubber sealant can offer a temporary fix. These areas often leak due to broken seals, and applying a waterproof rubber sealant around the base of the fixtures can prevent water from penetrating your home. Ensure the area is dry before application for the best results.
Don’t Wait – Contact Stonebridge ASAP!
If you’re dealing with a leaking roof, don’t delay in seeking professional help. While temporary roof leak fixes before repair can help minimize immediate damage, they are not long-term solutions. Stonebridge offers Emergency Roof Repair Services to provide the expertise and services you need to protect your home and family. Contact us as soon as possible for the necessary repairs. Remember, a quick response can save you time and money in the long run.

May 9, 2024
When a big storm is bearing down on your area, it’s probably too late for major roof repairs, but that doesn’t mean you’re out of options. Emergency roof repair services can help minimize immediate risks and reduce potential damage. It’s never too late to take action. Here are a few quick, critical steps you can take right away before the storm hits.
Pre-Storm Checklist:
1. Look for Leaks or Stains Indoors:
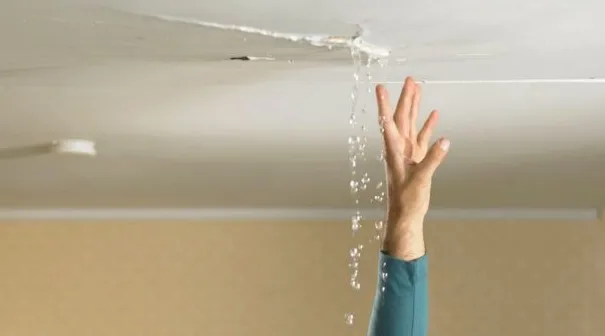
Visible stains on a ceiling or wall could mean an obvious roof problem. Some roof leaks can be tricky though if water enters the attic and travels along framing like trusses, dripping somewhere unrelated to the leak. If you see a stain along an exterior wall or ceiling you may need to take some emergency protection steps.
2. Look for Debris in Your Gutters:
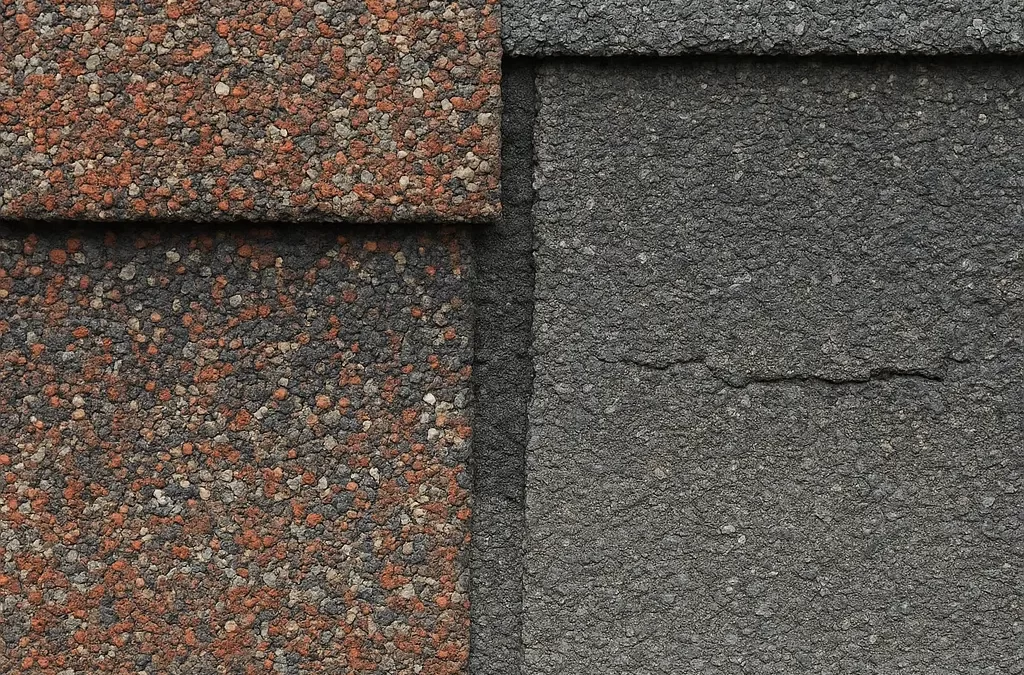
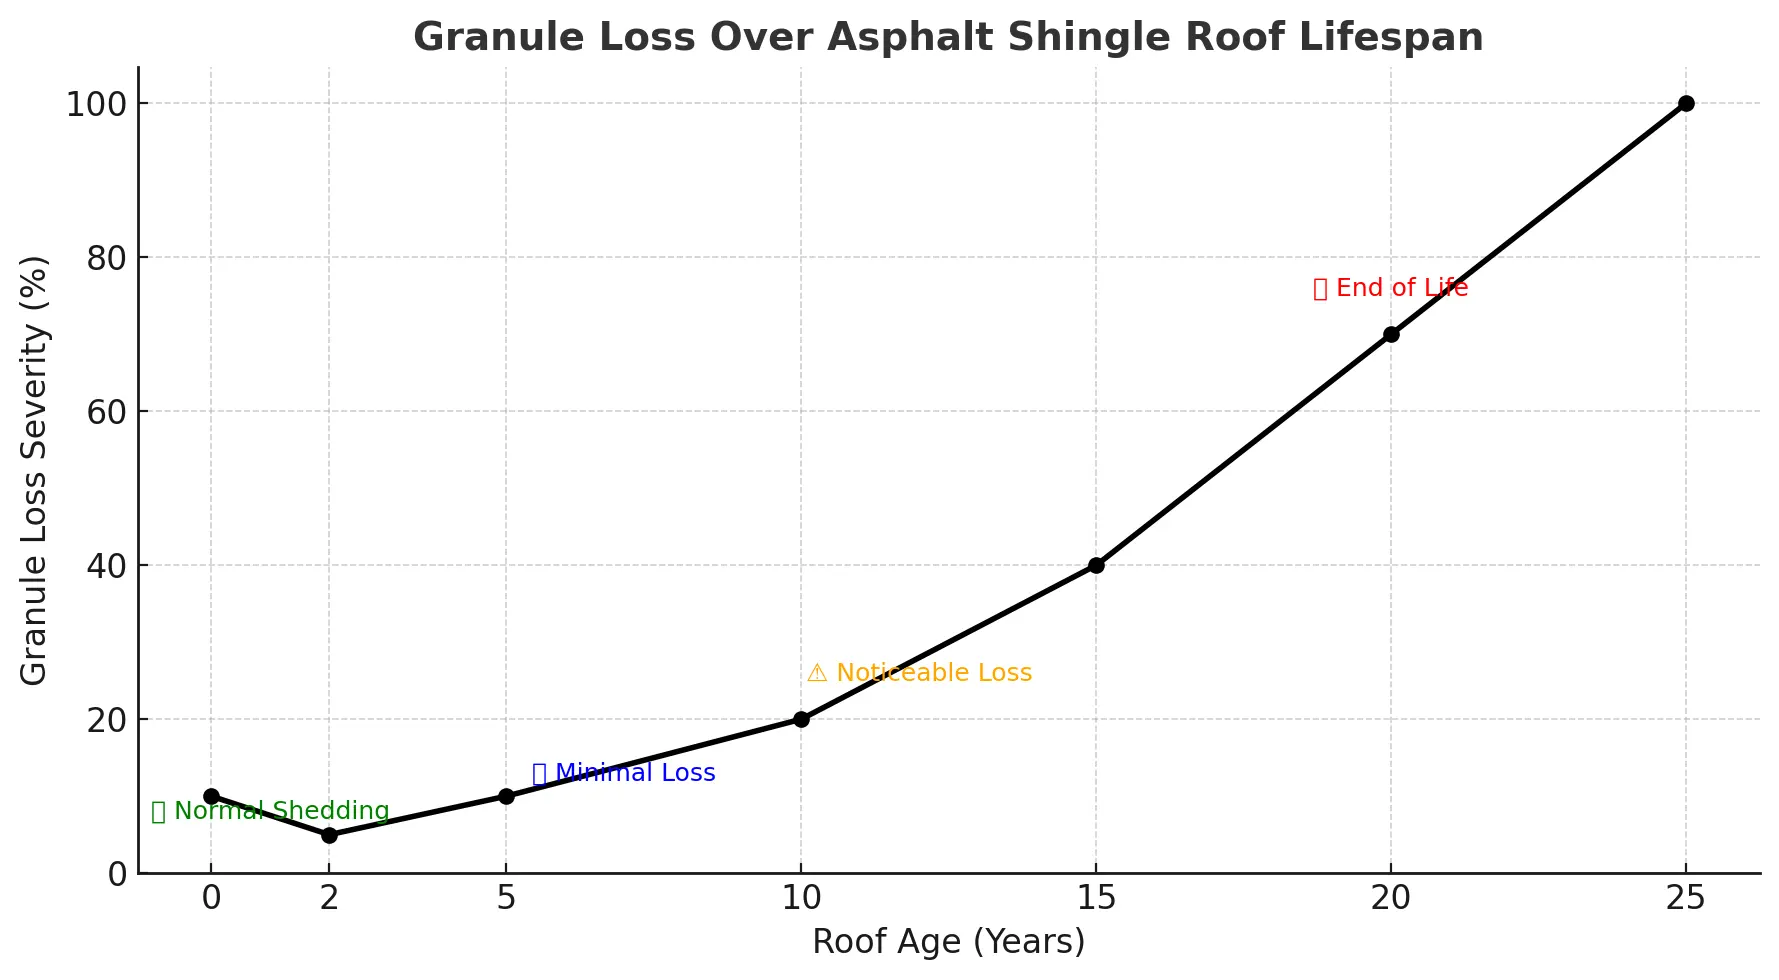
We all know that gutters will gather leaves and dirt throughout the year, but you may not know how damaging this gutter gunk can be. Most Florida roofs are made from materials that wear over time, like fiberglass/asphalt shingles, tiles, etc. As the material wears down, it sheds and will usually collect in the gutters. If the water in your gutters is unable to drain properly, it will gather and potentially leak into the walls and ceilings of your home. If you inspect your gutters and find roof debris, you may need to take emergency protection steps or call a roofing expert for advice.
3. Exterior Inspection:
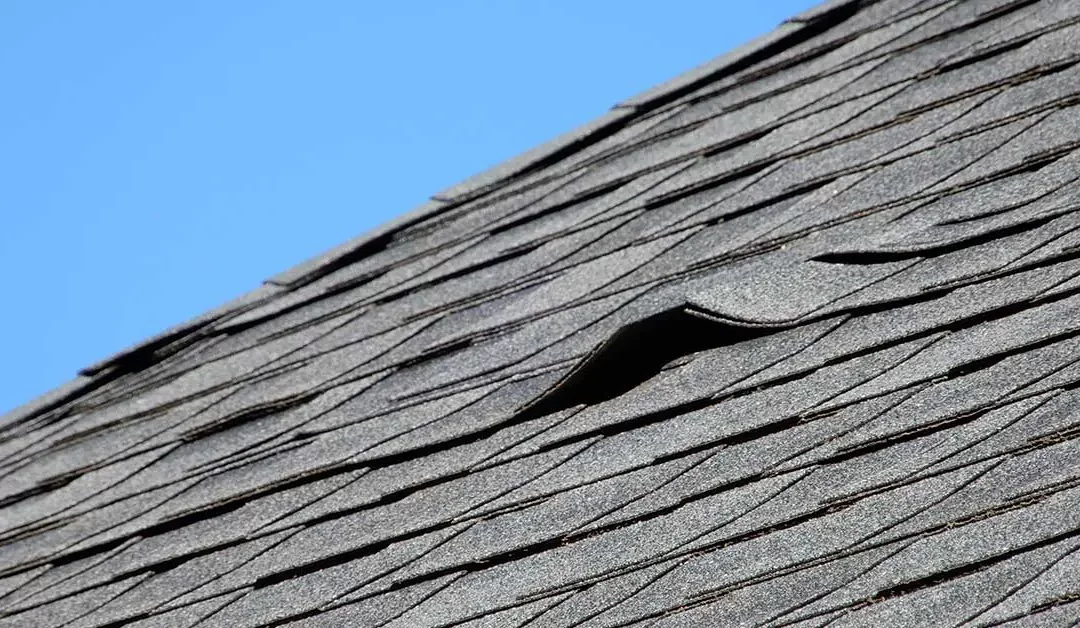
Take a few minutes to do a visual inspection of the exterior of your roof. Materials will degrade over time. For asphalt shingle roofs, there are often small corners that may pull up away from the roof. It’s often common for shingles to pull away and blow off completely in heavy winds. You should also look to see if there are any sags or discolored spots on your roof. These may be signs of damage that could lead to leaks soon. Be sure to take pictures, make notes, and document everything.
4. Trim Your Trees:
Check around your home for any low-hanging or dead tree branches that could potentially fall and damage your roof in heavy winds. You can trim away small branches if it’s safe to do so, but leave the heavy stuff for professionals.
5. Tarp Your Roof
If you see any areas of large damage before the storm, it’s important to try and prevent further damage. You can buy a tarp at almost every hardware store and most likely you can find one large enough to cover 3 feet past each edge of the damaged spot. Lowes has a helpful video on how to tarp your roof.
Post-Storm Checklist:
After the storm passes, and when you are sure it’s safe, there are a few post-storm things to check off. If you think you are experiencing any leaks or think you may have had roof damage, Here are the 5 most important things to do next.
1. Inspect your Property as soon as Possible
Do an inspection similar to your pre-storm check. Look for loose or missing shingles, damage from tree branches, debris on the roof, sagging spots, etc. Check the interior for water spots, stains and active leaks.
2. Document Everything
Take pictures of anything that looks like it might be damaged to you and make notes. There is no such thing as over-documenting and all of this can come in handy when it’s time to file an insurance claim.
3. Tarp Your Roof
If you do have any large damage spots or leaks in your home, you can follow the same tips from the video here.
4. File an Insurance Claim
If you believe that you have significant roof damage, it’s time to file an insurance claim. Contact your local agent or insurance carrier to see the proper method for filing a claim to get the process started.
5. Call Stonebridge
If you’re not sure how extensive your roof damage is, call the trusted experts at Stonebridge. You can request our emergency roof repair service here. We will come to give you a full assessment of the damage and inspect your roof with no obligation. 904-262-6636.
You will no doubt have out of town storm chasers all over your neighborhood after a storm. Cheaper is rarely better. Read some tips here on choosing the right contractor. Stonebridge Roofing is a local, licensed and insured, certified roofing installer. Our roofs are backed with our 15 year labor warranty along with lifetime shingle warranties, based on shingles chosen. Stonebridge Roofing can also help with new replacement windows, vinyl siding, gutters, and painting as well. Let Stonebridge Roofing become your first choice for all things exterior. Request your free assessment today.

Jul 18, 2023
Preparing your roof for hurricane season is a multi-step process designed to ensure your roof as sturdy and secure as possible. With regular maintenance and attention to detail, you’ll be sure that your home and family will be protected. Here’s some things you’ll want to do:
1. **Get A Roof Inspection:** It’s always a good hire a local professional to inspect your roof for any potential damage or weak areas. If you’re comfortable doing it yourself, look for missing or loose shingles, rusted flashing, worn seals, and any other signs of damage. Don’t forget to check the underside of the roof from your attic for signs of leaks or water damage.
2. **Repairs:** Any signs of damage or wear should be repaired promptly. Loose or missing shingles should be replaced, as these can be easily torn off by high winds, creating a weak spot in your roof. If the flashing is rusted or damaged, it should also be replaced to prevent leaks.
3. **Trim Trees:** Trim back any tree branches that overhang your roof. In a hurricane, these branches can be torn off and thrown onto your roof, potentially causing severe damage.
4. **Gutter Maintenance:** Clean your gutters and make sure they’re securely attached. Blocked or loose gutters can overflow, causing water damage to your home, and can be torn off in high winds.
6. **Professional Check-up:** If you’re in a high-risk area, consider having a professional wind mitigation inspector check your home. They can identify potential weaknesses and recommend fixes to help your home withstand a hurricane.
7. **Insurance Check-up:** Make sure your home insurance policy covers hurricane damage, and understand the terms. Some policies have a separate hurricane deductible, and others may not cover flood damage.
8. **Prepare for Emergency Repairs:** Keep materials such as tarps, plywood, and nails on hand for emergency post-storm repairs.
Remember, the best time to prepare your roof for hurricane season is well in advance of any storms. A well-maintained and sturdy roof can greatly reduce the potential damage to your home during a hurricane.

 quality and customer satisfaction.