
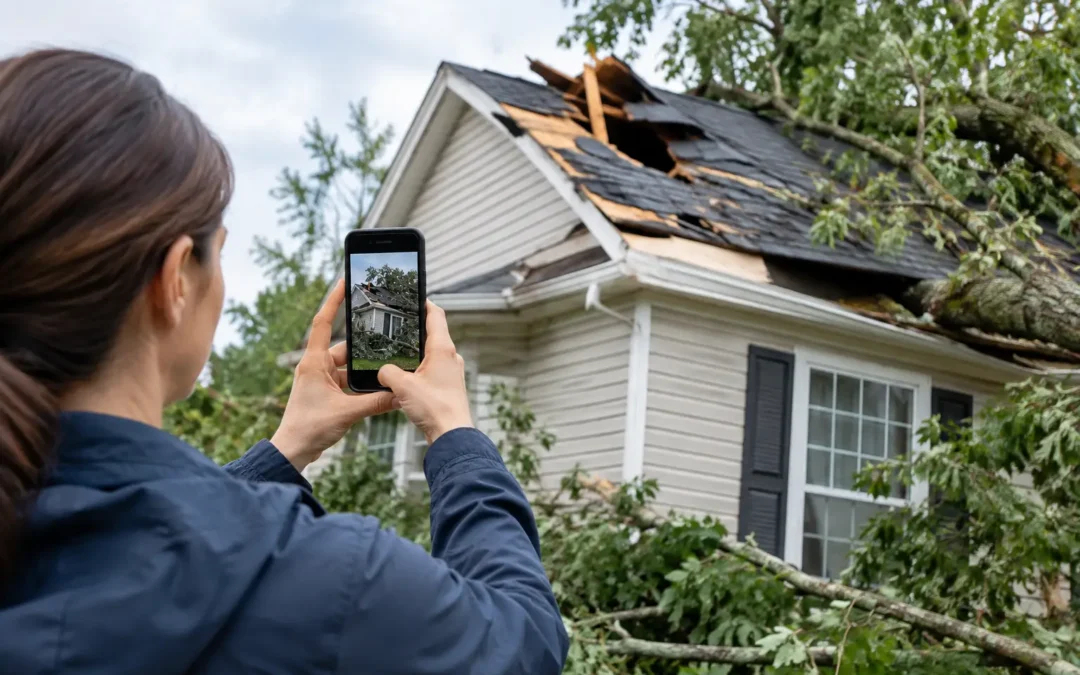
How to Document Storm Damage for an Insurance Claim
A Florida storm can leave damage that is easy to miss from the ground and expensive to explain later. Knowing how to document storm damage before cleanup, repairs, or an adjuster visit can protect your property, preserve key evidence, and give your insurance claim a clearer foundation.
The priority is always safety. Do not climb onto a wet, steep, or visibly damaged roof, and stay clear of downed power lines, standing water near electrical equipment, and unstable trees. Once the area is safe, start creating a detailed record as soon as conditions allow. Wind-driven rain, hail, fallen limbs, and flying debris can affect roofing, gutters, siding, windows, fences, and interior finishes in ways that become harder to verify after debris is removed.
Start With Safety and Prevent Further Damage
Insurance policies generally expect property owners to take reasonable steps to prevent additional damage. That does not mean beginning permanent repairs before the damage is documented. It means protecting the building from avoidable exposure while keeping records of what happened and what you did.
If water is entering the home, move furnishings, electronics, and valuables away from the affected area. Use containers to catch active drips if it is safe to do so. A professional roof tarp can be an appropriate temporary measure after a storm has opened the roof to rain. Keep receipts for emergency services, materials, and temporary protection work.
Take photos before tarping or moving damaged materials whenever possible. If emergency conditions require immediate action, document as you go. A quick set of photos and a short video are better than no record at all.
How to Document Storm Damage Step by Step
Begin outside, then work inward. Use your phone’s camera at its highest practical resolution, and make sure date and time settings are accurate. Capture wide shots that establish the property, followed by medium and close-up images that show the specific damage.
Photograph each side of the building from a safe location. Include the roofline, gutters, downspouts, soffit, fascia, siding, windows, doors, screens, exterior HVAC components, fences, and detached structures. For commercial and multi-family properties, document each affected building elevation and any common areas separately so the location of damage is clear.
On the roof, visible signs may include lifted or missing shingles, cracked or displaced tiles, exposed underlayment, bent flashing, damaged vents, loose ridge caps, punctures, and debris impacts. From the ground, use zoom if needed. Avoid the temptation to inspect the roof yourself after a storm. A trained roofing professional has the equipment and experience to assess elevated areas more safely.
Inside, photograph ceiling stains, bubbling paint, wet drywall, damp insulation, warped flooring, and water around windows or doors. Take a wide photo that shows the room, then closer images of each affected surface. If possible, place a ruler or tape measure next to a crack, puncture, or stain to show scale.
Video can add useful context. Walk slowly around the property while narrating the date, the location, and what you are seeing. For example: “This is the rear slope of the roof facing the backyard. Several shingles are missing near the ridge, and water is entering the guest bedroom below.” Keep the narration factual. You do not need to diagnose the cause before an inspection.
Create a Written Damage Log
Photos show what happened. A written log helps establish when you noticed it, where it occurred, and how conditions changed. Start a simple note on your phone or computer the same day.
Record the storm date and approximate time, the weather conditions you observed, and when you first noticed each issue. Note active leaks, damaged property, temporary protective steps, and every conversation related to the loss. Include the names of insurance representatives, contractors, emergency service providers, and anyone else who inspected the property.
For larger losses, especially at commercial or multi-family buildings, organize the log by building, unit, roof section, or floor. This makes it easier to compare inspection findings, repair proposals, invoices, and claim communications later.
Keep the language precise. “Water stain appeared on the northwest corner of the living room ceiling after heavy wind and rain on September 12” is more useful than “roof is leaking badly.” Describe what you observed without guessing whether the insurance company will cover it or whether the roof requires replacement.
Save Damaged Materials and Receipts
Do not throw away damaged items until your insurer says you may do so, unless they present a health or safety concern. Keep broken roofing materials, damaged gutters, fallen pieces of siding, or other storm-related debris in a safe, clearly labeled location if practical. These items may help support an inspection.
Create one folder for all storm documentation. Store original photos and videos, not only screenshots sent by text message. Save receipts for tarping, water extraction, temporary repairs, lodging if applicable, and materials purchased to protect the property. If a contractor provides an emergency assessment, retain the report, estimate, and photographs.
A simple naming system can make a stressful situation more manageable: use the date, location, and item in each file name. For example, “0912_rear-roof_missing-shingles” or “0913_guest-bedroom_ceiling-stain.” Back up the folder to a secure cloud account or send copies to an email address you can access from another device.
Contact Your Insurance Carrier Promptly
Report the loss according to your policy requirements, even if you are still gathering information. Ask for the claim number and write it in your damage log. Find out whether the carrier has specific instructions for emergency mitigation, inspections, or contractor estimates.
When speaking with the carrier, provide facts and documentation. Explain the date of the storm, the damage you observed, and the steps taken to prevent further loss. Do not sign over claim benefits or agree to major repair work under pressure. A storm can create urgency, but property owners still deserve clear scopes of work, transparent pricing, and time to understand their options.
Coverage depends on the policy language, deductible, prior condition of the property, cause of loss, and other factors. A contractor can document visible damage and provide a repair recommendation, but your insurer determines claim coverage. Keep all claim communications in writing when possible and save copies of emails, letters, and estimates.
Schedule a Professional Roof and Exterior Inspection
Not every storm-damaged roof leaks immediately. Wind can loosen shingles or tiles, shift flashing, and compromise seals around penetrations without creating an obvious interior stain that day. Florida’s frequent rain can turn a small opening into a larger problem quickly.
A professional inspection provides a safer, more complete record of the roof and exterior. Ask for clear photographs, a written description of findings, and an explanation of whether temporary stabilization, repair, or replacement is recommended. For a property with a low-slope commercial roof, tile roof, or a large multi-building layout, experience with that specific roofing system matters.
Stonebridge serves Northeast Florida property owners with storm response, roof tarping, repair, and replacement support. A qualified local contractor can help identify damage that is not visible from the ground while keeping the recommendation focused on the condition of the property, not on unnecessary work.
Avoid Common Documentation Mistakes
The most common mistake is waiting until the damage becomes more obvious. Delays can make it harder to connect a leak or exterior issue to a specific storm, particularly during an active Florida storm season. Document what you see promptly, even if you are unsure how serious it is.
Another mistake is taking only close-up photos. Close images show detail, but they do not always show where the damage is located. Pair every close-up with a wider image of the roof slope, wall, room, or property elevation.
Finally, do not rely only on memory or verbal conversations. A dated photo library, written log, receipts, and professional inspection report create a far more reliable record than a recollection weeks later.
A careful record will not change the storm, but it can give you greater control over what happens next. Protect the property, preserve the evidence, and bring in experienced help before a small opening has another Florida rainstorm to work through.