Hurricane Roof Damage Insurance Claim Steps
A hurricane can leave a roof looking mostly intact from the driveway while water works its way beneath lifted shingles, cracked tiles, damaged flashing, or torn underlayment. That is why a hurricane roof damage insurance claim should begin with prompt documentation and professional assessment, not assumptions. For Jacksonville and Northeast Florida property owners, the steps taken in the first few days can affect both the safety of the building and the strength of the claim.
Put Safety and Damage Control First
Do not climb onto a roof after a hurricane. Saturated surfaces, loose materials, hidden punctures, and downed power lines can turn a quick inspection into a serious injury. Start from the ground, looking for missing shingles or tiles, exposed roof decking, displaced flashing, fallen branches, sagging gutters, and debris around the home.
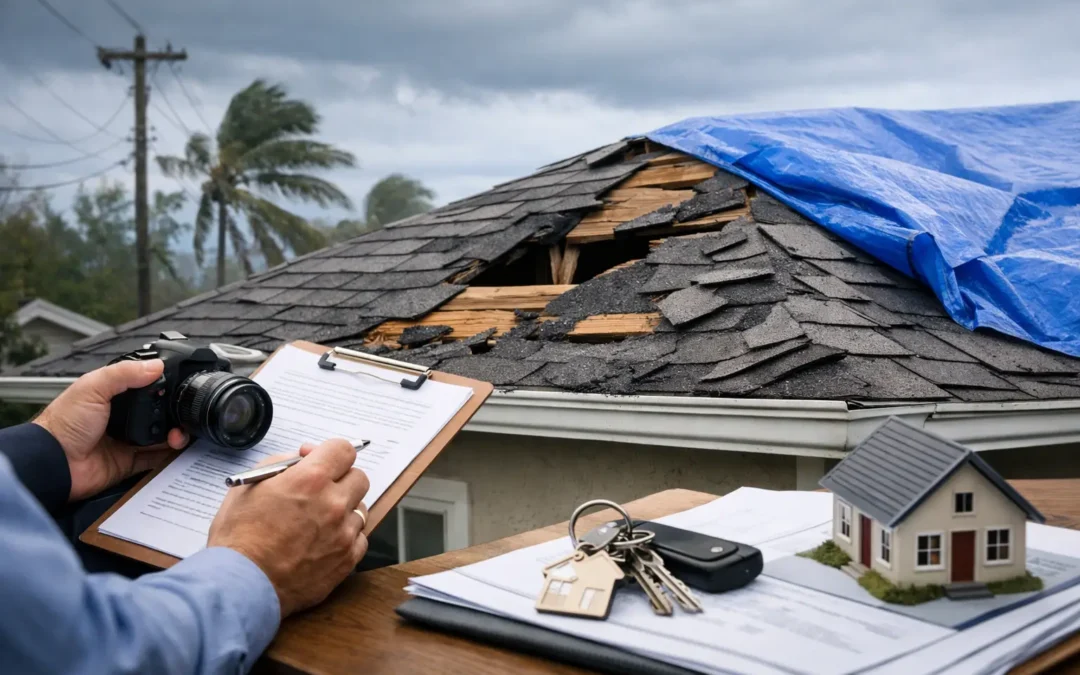
Inside, check ceilings, attic spaces, exterior walls, and around windows for fresh staining, drips, wet insulation, or a musty odor. Take photos and video from a safe position, including wide shots of the property and close-ups of visible damage. If rain is still expected, photograph the conditions before temporary protection is installed whenever possible.
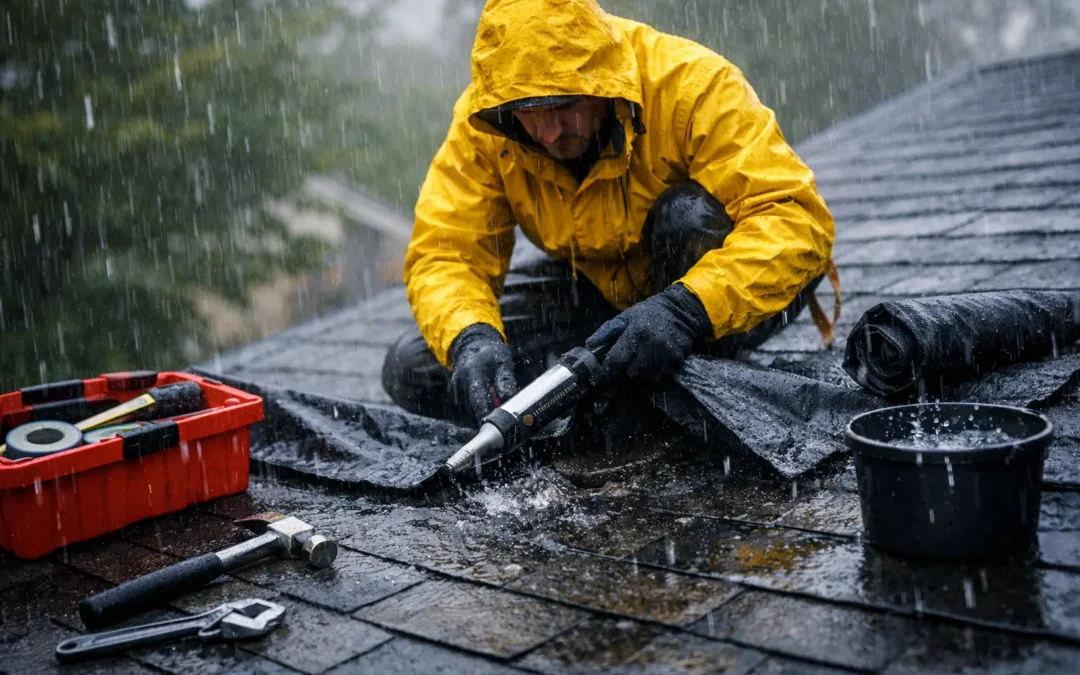
Most homeowners policies require reasonable steps to prevent further damage after a covered loss. This does not mean you should attempt a risky repair. It means acting quickly to limit water intrusion. Emergency roof tarping or other temporary protection can help preserve the structure while the insurance process moves forward. Keep the invoice, photos of the tarp, and any damaged materials that are safely accessible.
Emergency work is not the same as permanent repair
A tarp is a short-term measure, not a finished roofing solution. Avoid authorizing a full replacement before the insurer has had a reasonable opportunity to inspect, unless immediate work is necessary to make the property safe. A qualified roofing contractor can document the condition, stabilize the roof, and explain what needs attention without pressuring you to make a rushed decision.
Start Your Hurricane Roof Damage Insurance Claim Promptly
Call your insurance carrier as soon as you have documented the visible damage and arranged emergency protection if needed. Ask for the claim number, the adjuster’s contact information, and a clear explanation of the next steps. Record the date and time of every conversation, along with the name of the person you spoke with and what was discussed.
When describing the loss, be factual. State what happened, when the storm occurred, and what you observed afterward. For example, explain that wind lifted shingles near a roof penetration or that water appeared on the ceiling after hurricane conditions passed. Do not guess about the cause or extent of hidden damage. Let the inspection and evidence establish that.
Your policy language matters. Coverage, deductibles, depreciation, exclusions, and payment terms vary by insurer and policy. In Florida, hurricane deductibles may be separate from a standard all-peril deductible and are often calculated differently. Ask your carrier which deductible applies and request a copy of the applicable policy provisions if you do not have them available.
Build a Clear Record Before the Adjuster Arrives
A well-organized file helps prevent small details from getting lost. Keep all storm-related information in one place, whether that is a folder, a notebook, or a digital file. Photos should be saved with their original dates when possible. If you have photos of your roof before the storm, include those as well.
Document more than the roof surface. Wind-driven rain can affect attic insulation, ceilings, fascia, soffits, gutters, siding, and interior finishes. Water that enters around flashing or a damaged roof valley may travel before it becomes visible inside. A complete record helps show the full scope of the loss rather than only the first stain you noticed.
If you paid for emergency tarping, water extraction, or other mitigation, save receipts and proof of payment. Also keep copies of estimates, inspection reports, and any communication with contractors or the insurance company. Do not discard damaged materials until the insurer confirms they are no longer needed, provided they can be retained safely.
Ask for a professional roof inspection
An adjuster evaluates the claim for the insurance company. A roofing contractor evaluates the roof system and the practical work required to restore it. Those roles are different, and homeowners benefit from having both perspectives.
A detailed roofing inspection can identify wind damage that is easy to miss, such as broken shingle seals, creased shingles, lifted fasteners, cracked tiles, damaged vents, or compromised flashing. It can also distinguish recent storm damage from normal wear, pre-existing installation issues, or an aging roof nearing the end of its service life. That distinction matters because insurance generally covers sudden covered damage, not routine maintenance or deterioration.
Stonebridge can provide a professional assessment, emergency storm repair, and clear repair or replacement recommendations built for Florida weather. An experienced contractor should be prepared to explain findings in plain language and provide written documentation you can use during the claims process.
Be Present for the Adjuster Inspection If You Can
Try to attend the adjuster’s inspection, or have your roofing contractor present with permission from the insurer. This gives you an opportunity to point out leaks, interior damage, areas covered by a tarp, and any storm-related changes you documented. Share your photos, receipts, and inspection report, but keep copies for your records.
Remain cooperative and direct. The goal is not to argue on the roof. It is to make sure the adjuster has complete, accurate information. If the adjuster identifies a limited repair while your contractor identifies broader damage, ask questions about the difference. Request the insurer’s estimate in writing and review the line items carefully.
Roofing systems are interconnected. Replacing a few wind-damaged shingles may sound simple, but it can raise practical issues involving matching, surrounding materials, underlayment, flashing, code requirements, and manufacturer installation specifications. Whether a repair is appropriate depends on the roof type, the extent and location of damage, the availability of compatible materials, and the condition of the remaining roof.
Review the Settlement Before Work Begins
An initial insurance payment is not always the final word on the claim. Some policies pay actual cash value first, then release recoverable depreciation after approved repairs are completed and documented. Others have different provisions. Read the estimate and payment letter closely so you understand what the payment includes, what deductible was applied, and what documentation may be needed later.
Compare the insurer’s scope of work with the contractor’s written estimate. Look for omissions involving tear-off, underlayment, flashing, ventilation, decking repairs, permit requirements, waste removal, or interior water damage. If you find a discrepancy, ask the contractor to provide supporting documentation and submit it through the proper process. Do not assume an uncovered item is automatically an error, but do not assume the first estimate captures every necessary repair either.
Be cautious with anyone who promises to “get you a new roof” before inspecting the property or reviewing the damage. Florida homeowners deserve transparent guidance, not inflated promises. Choose a properly licensed, insured contractor with established local experience, manufacturer credentials, and a written scope of work. A roof is your home’s first line of defense against the next storm, so the workmanship and materials matter long after the claim is closed.
If the Claim Is Delayed, Underpaid, or Denied
A delay or denial can be frustrating, especially when a roof is actively leaking. Start by asking the insurer for a written explanation that identifies the policy language and evidence used in its decision. Review it alongside your inspection report, photographs, and estimate. If additional damage is found during repairs, document it immediately and notify the insurer before moving ahead with work beyond emergency protection.
You may need a reinspection or supplemental review when new storm-related damage becomes visible after materials are removed. This is common when the roof surface concealed damaged decking, underlayment, or flashing. Keep communication professional, timely, and in writing when possible. If you have questions about your rights or a coverage dispute, consider speaking with a qualified insurance professional or attorney.
The best next step after a hurricane is usually the simplest: protect the property, document what you see, report the loss promptly, and get an experienced local roofer to assess the full roofing system. A careful response now can help restore your home with the protection and peace of mind Florida weather demands.